I received an email this week from an existing Time Clock MTS user who has the stand-alone edition of the software. He wanted to start using the software on more than one computer and also wanted to move the administrator software to another computer and use the original computer as a Time Clock MTS Client. It was a good question so I thought it was worth posting up my reply here for future reference.

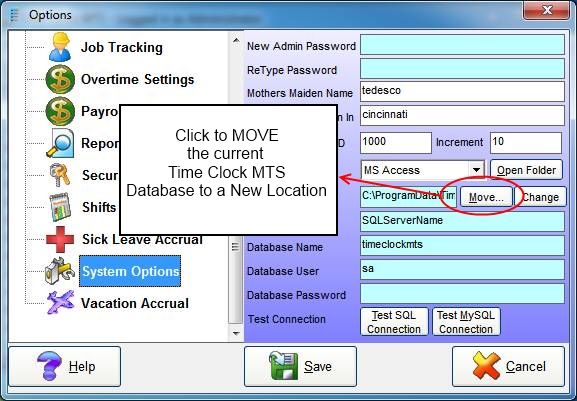
System Options Screen – Moving the Existing Database
- Share a folder on your network server that is accessible to both computers. Then move your Time Clock MTS database to the folder using the Tools->Options->System Options screen while logged in as the Time Clock MTS administrator. You can move the database by clicking the MOVE button from this screen. See image above for more information.
- Uninstall Time Clock MTS from that computer.

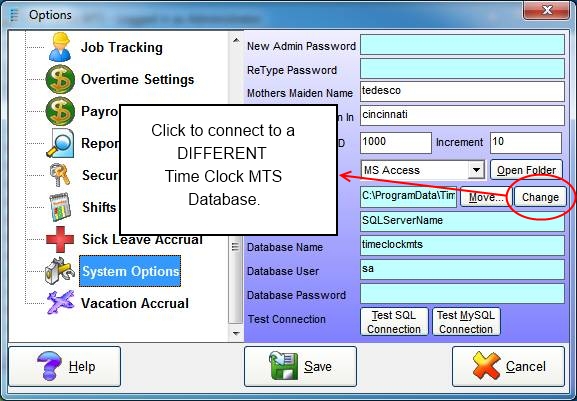
System Options Screen – Connect to a Different Database
- Install Time Clock MTS on the other computer. Run it for the first time and setup a new password. Log into that Time Clock MTS as the administrator and connect to the database you moved in step one above by going to the Tools->Options->System Options screen and clicking the CHANGE button.
- Purchase an upgrade to the Time Clock MTS Network Edition. You can do that on this page.
- Install the Time Clock MTS client on the existing computer, when you run it the first time it should be connected to the database you moved in step one above.
- Register both computers with the new registration keys you’ll get when you make the upgrade purchase.
There’s a couple of things to note with this process. In Step 1, make sure the folder you share gives all Time Clock MTS computers full read/write/create/delete permissions on that folder. In Step 5 the Time Clock MTS client should pick up the settings from the administrator software that used to be on it. However, in some cases it may not and you’ll be shown a First Run Wizard that will take you through the process of connecting to an existing Time Clock MTS database.

